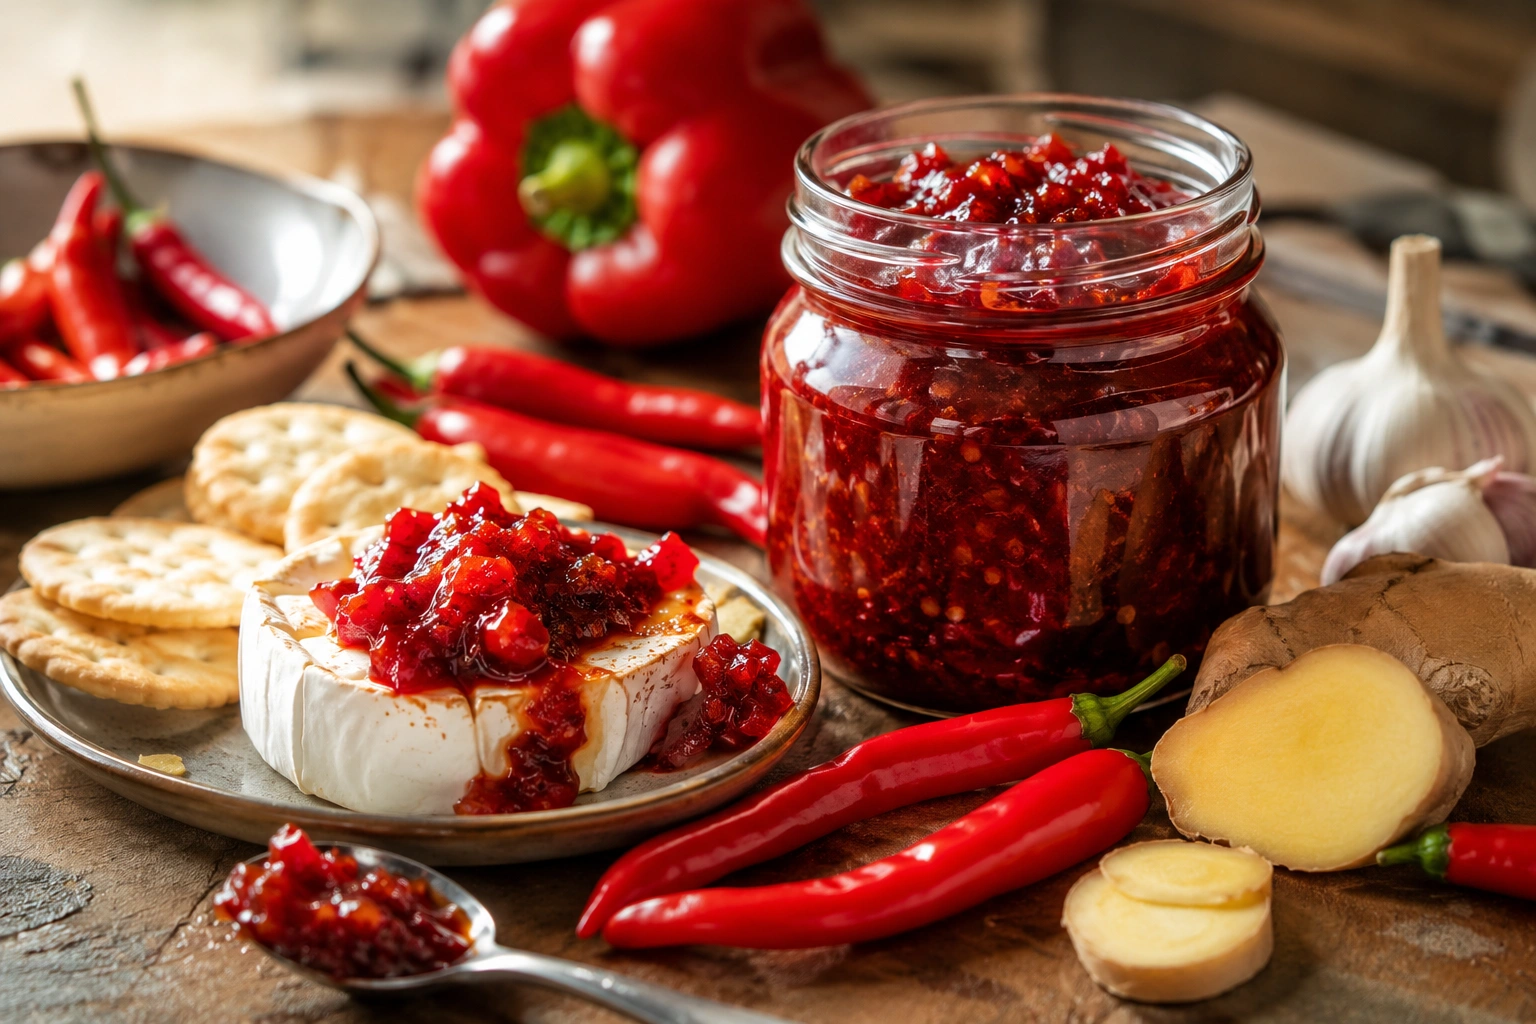
There's a particular kind of magic in watching a pot of chopped chillies, sugar, and vinegar slowly turn into something glossy, sticky, and deeply savoury-sweet. Chilli jam is one of those condiments that punches enormously above its weight — a spoonful transforms a cheese board, lifts a bowl of noodles, or turns a basic fried egg on toast into something worth photographing.
I've spent ten years cooking professionally in kitchens around Australia, and chilli jam is one of the first things I teach junior cooks to make well, because it looks intimidating and isn't. It's a forgiving recipe with a huge amount of room for personal taste, and once you understand the basic ratios, you can make it your own permanently.
This guide walks through everything a home cook needs: ingredient choices, the method start to finish, how to get the set right, storage, and the mistakes that trip people up most often.
Ingredients (makes roughly 2 medium jars):
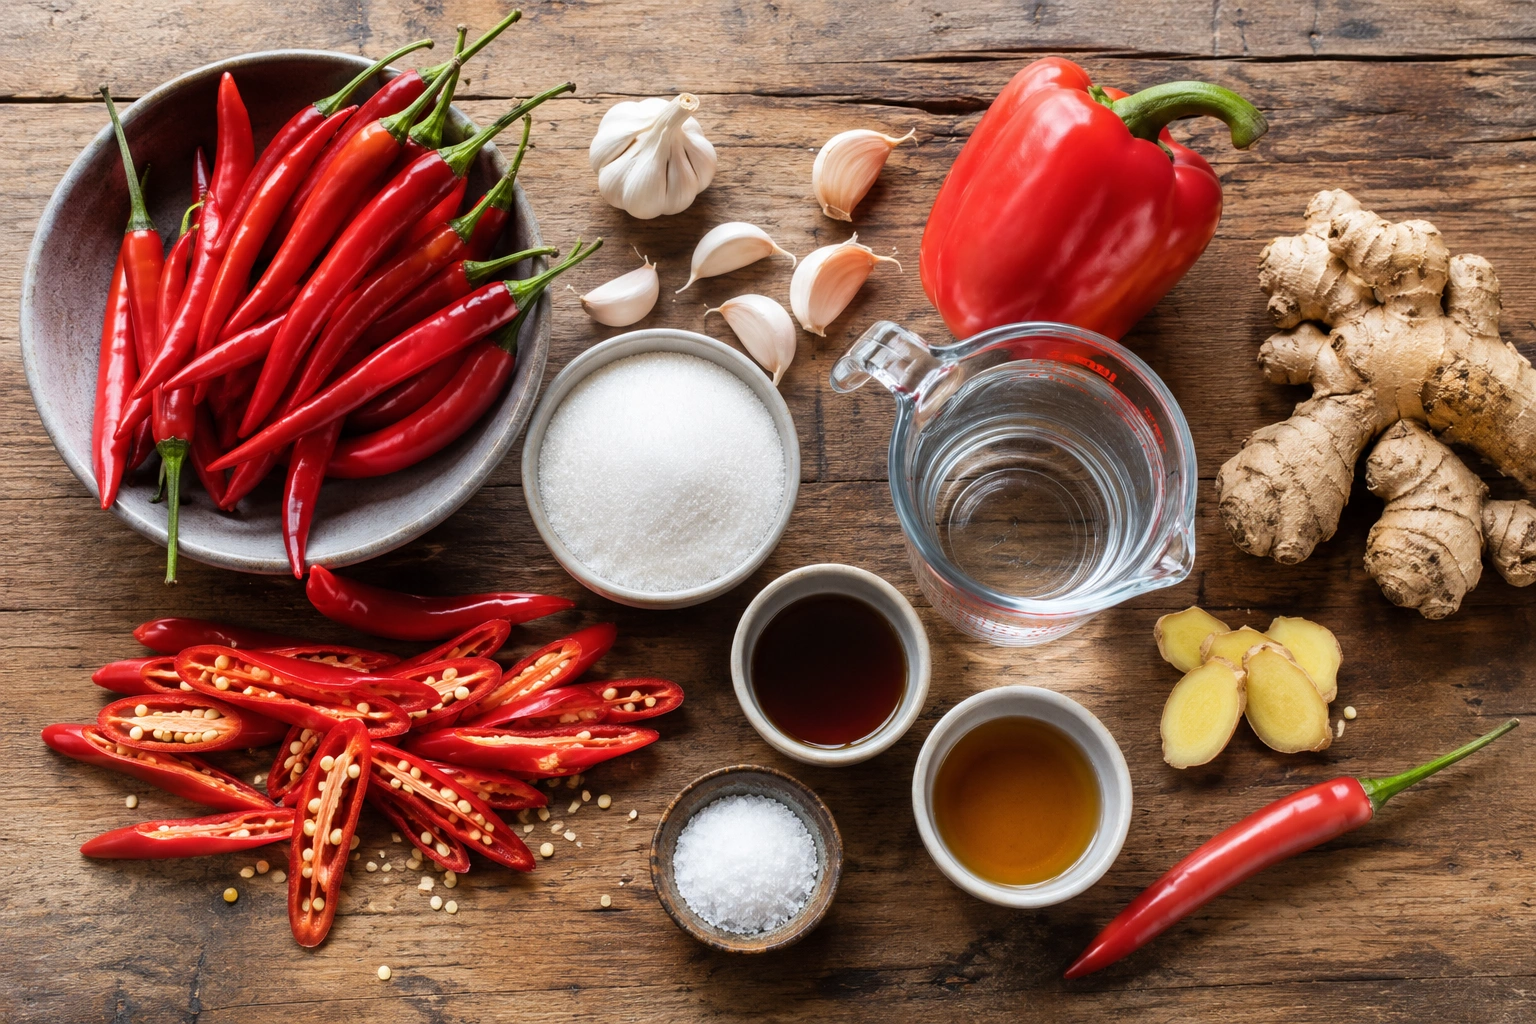
- 400g long red chillies, roughly chopped
- 150g red capsicum, roughly chopped
- 6 garlic cloves
- A thumb-sized piece of ginger, peeled
- 400g white sugar
- 250ml white vinegar or apple cider vinegar
- 1 tablespoon fish sauce (optional, but worth it)
- A pinch of salt
Equipment:
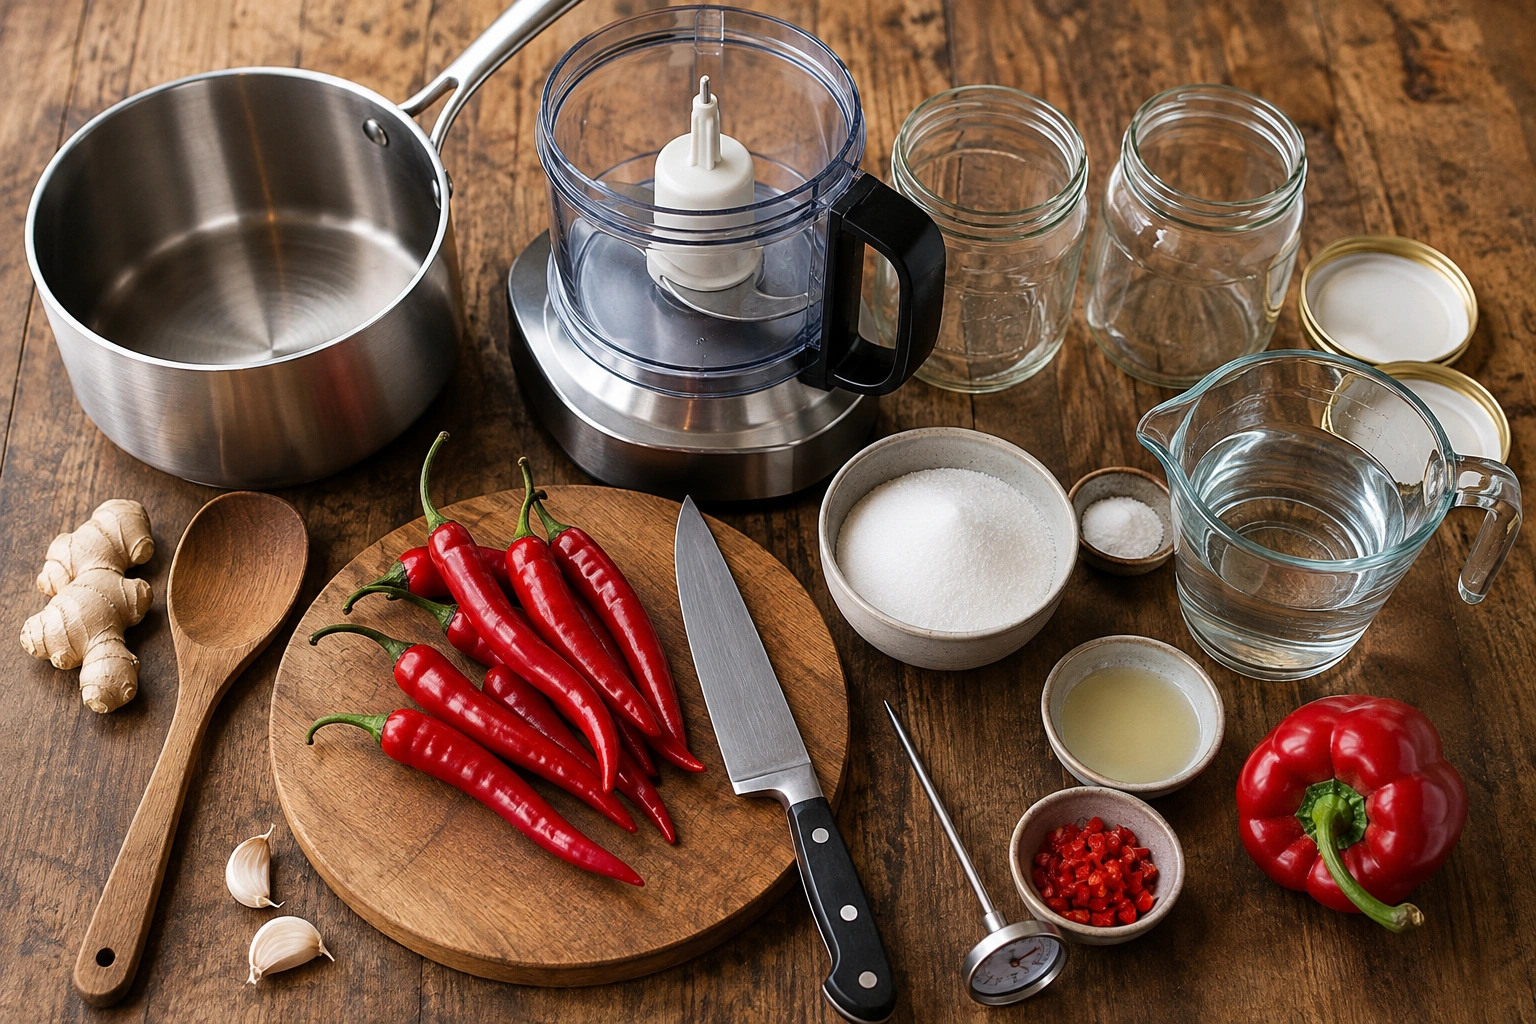
- A food processor or a sharp knife and a lot of patience
- A heavy-based saucepan
- Sterilised jars with tight-fitting lids
- A sugar thermometer (helpful, not essential)
The Method: Step by Step
Prepping the Chillies
Roughly chop
Roughly chop the chillies and capsicum. You don't need to be precise here since everything gets broken down further either by processing or by cooking. If you want a milder jam, remove some or all of the seeds and white pith from the chillies, since that's where most of the heat sits. Leave them in if you want the full punch.
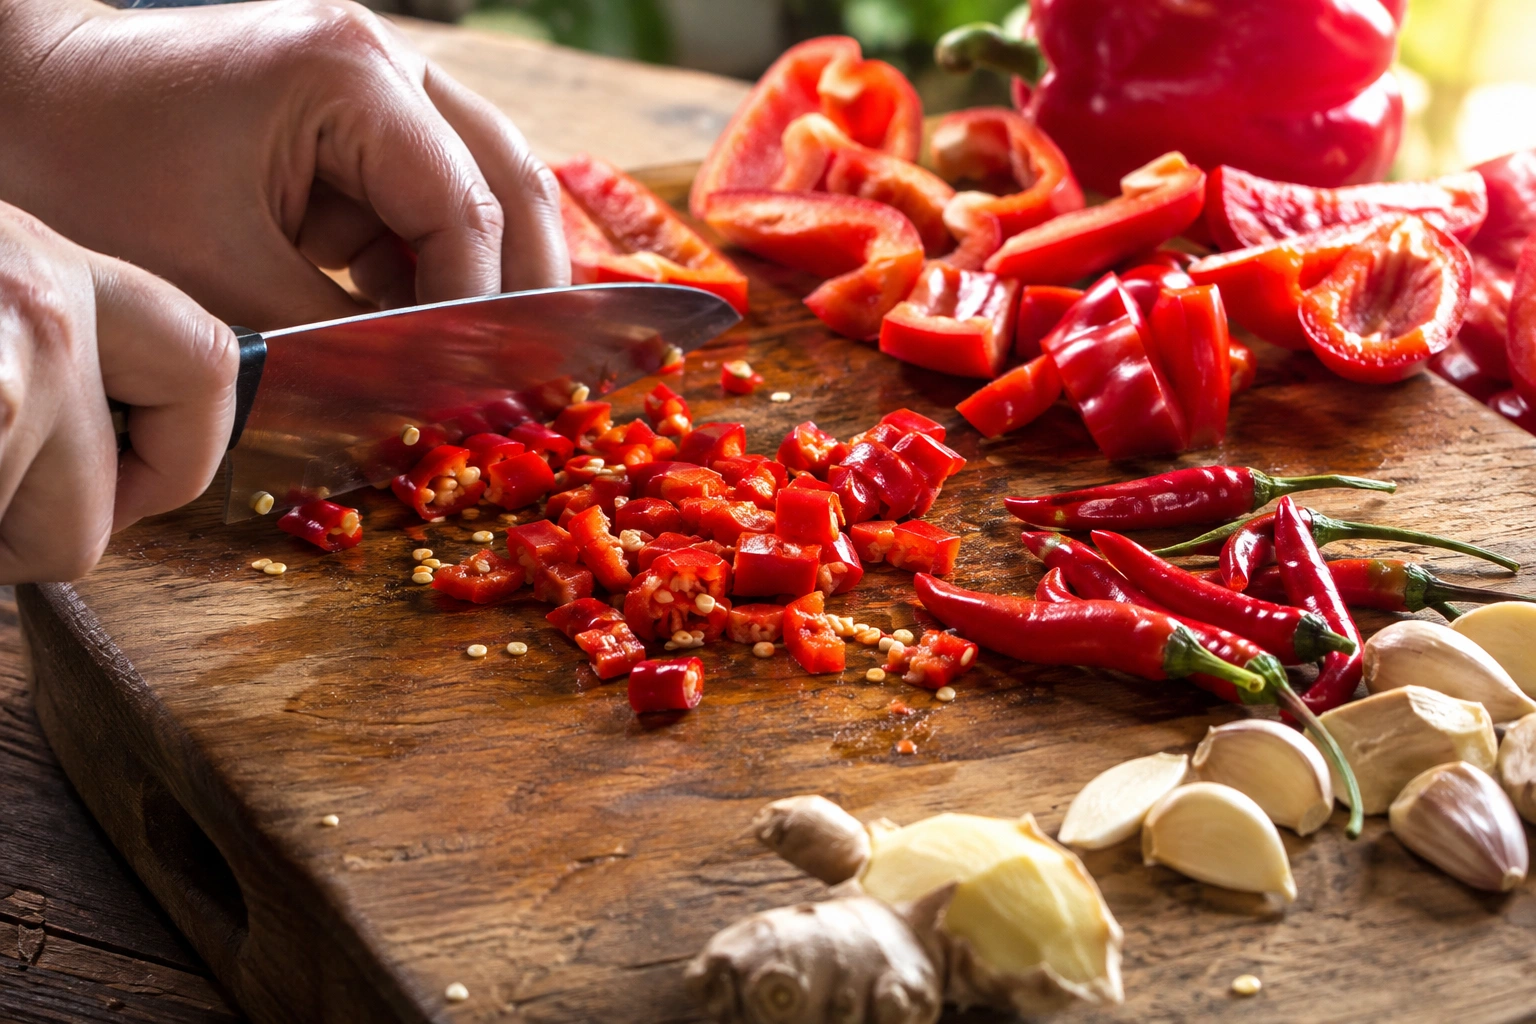
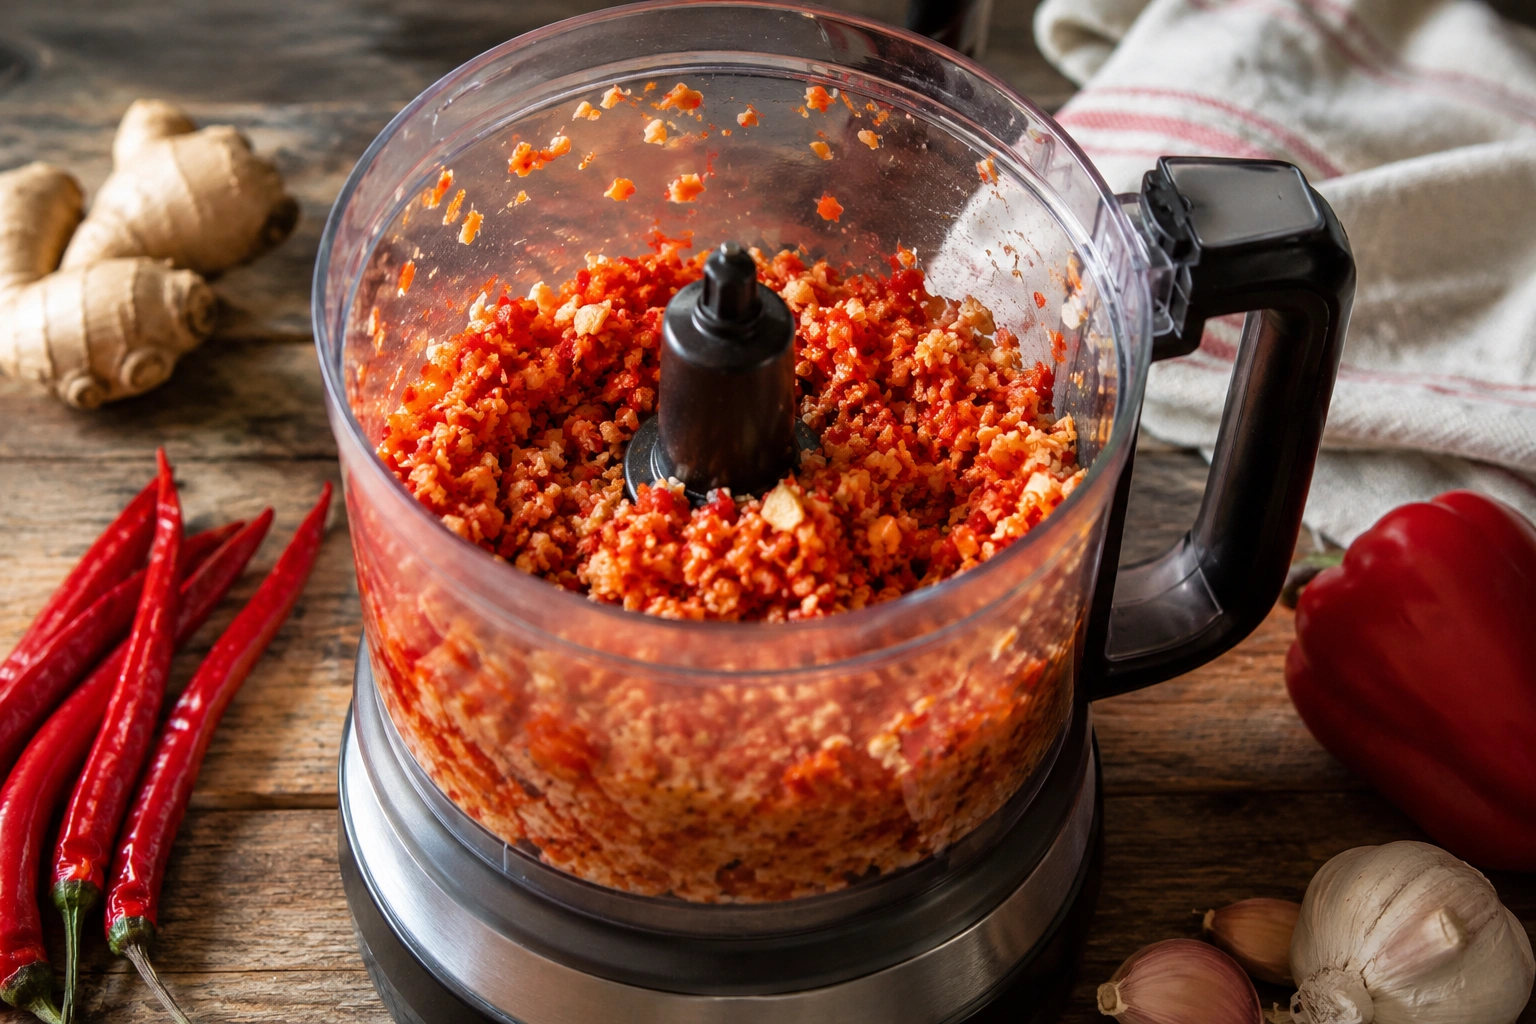
Pulse in food processor
Pulse the chillies, capsicum, garlic, and ginger in a food processor until finely chopped but not pureed. You're after texture, not a smooth paste. If you don't have a food processor, finely dicing everything by hand works just as well, it just takes longer.
Cooking the Base
Combine ingredients in saucepan
Tip the chopped mixture into a heavy-based saucepan with the sugar, vinegar, fish sauce, and salt. Stir over low heat until the sugar has fully dissolved, then bring it up to a gentle simmer.
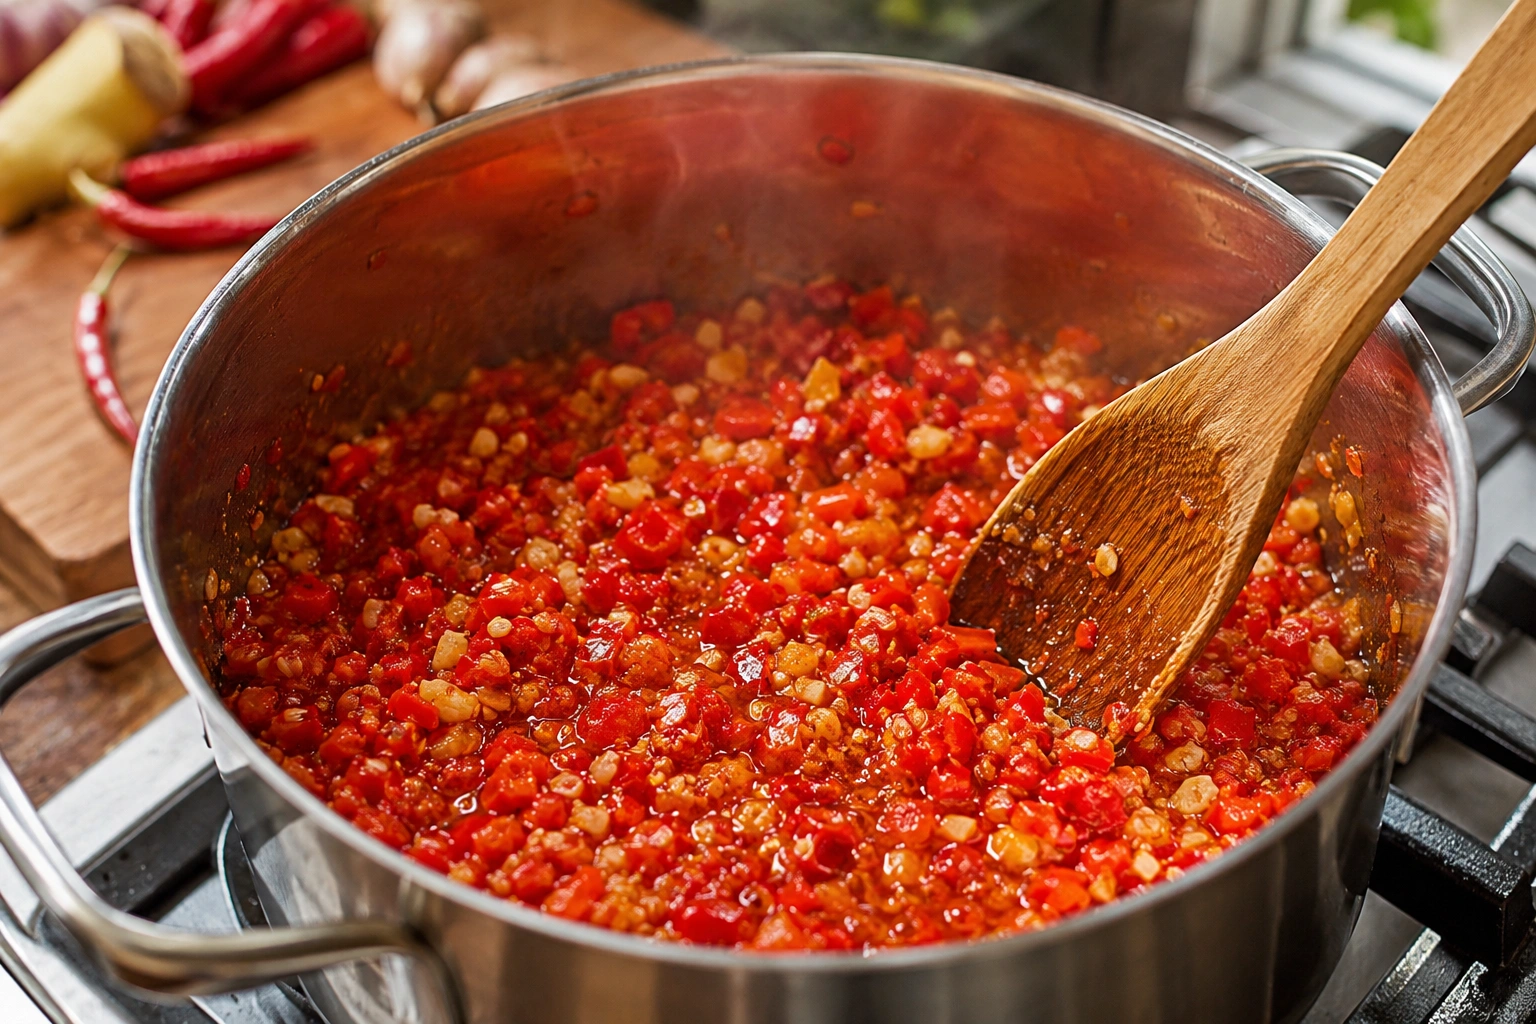
Simmer over moderate heat
This part matters: keep the heat moderate, not high. Chilli jam has a lot of sugar in it, and sugar burns fast and unforgivingly if the heat's too aggressive. A gentle, steady simmer with occasional stirring gets you there without the acrid, burnt-sugar taste that ruins a batch.
Getting the Set Right
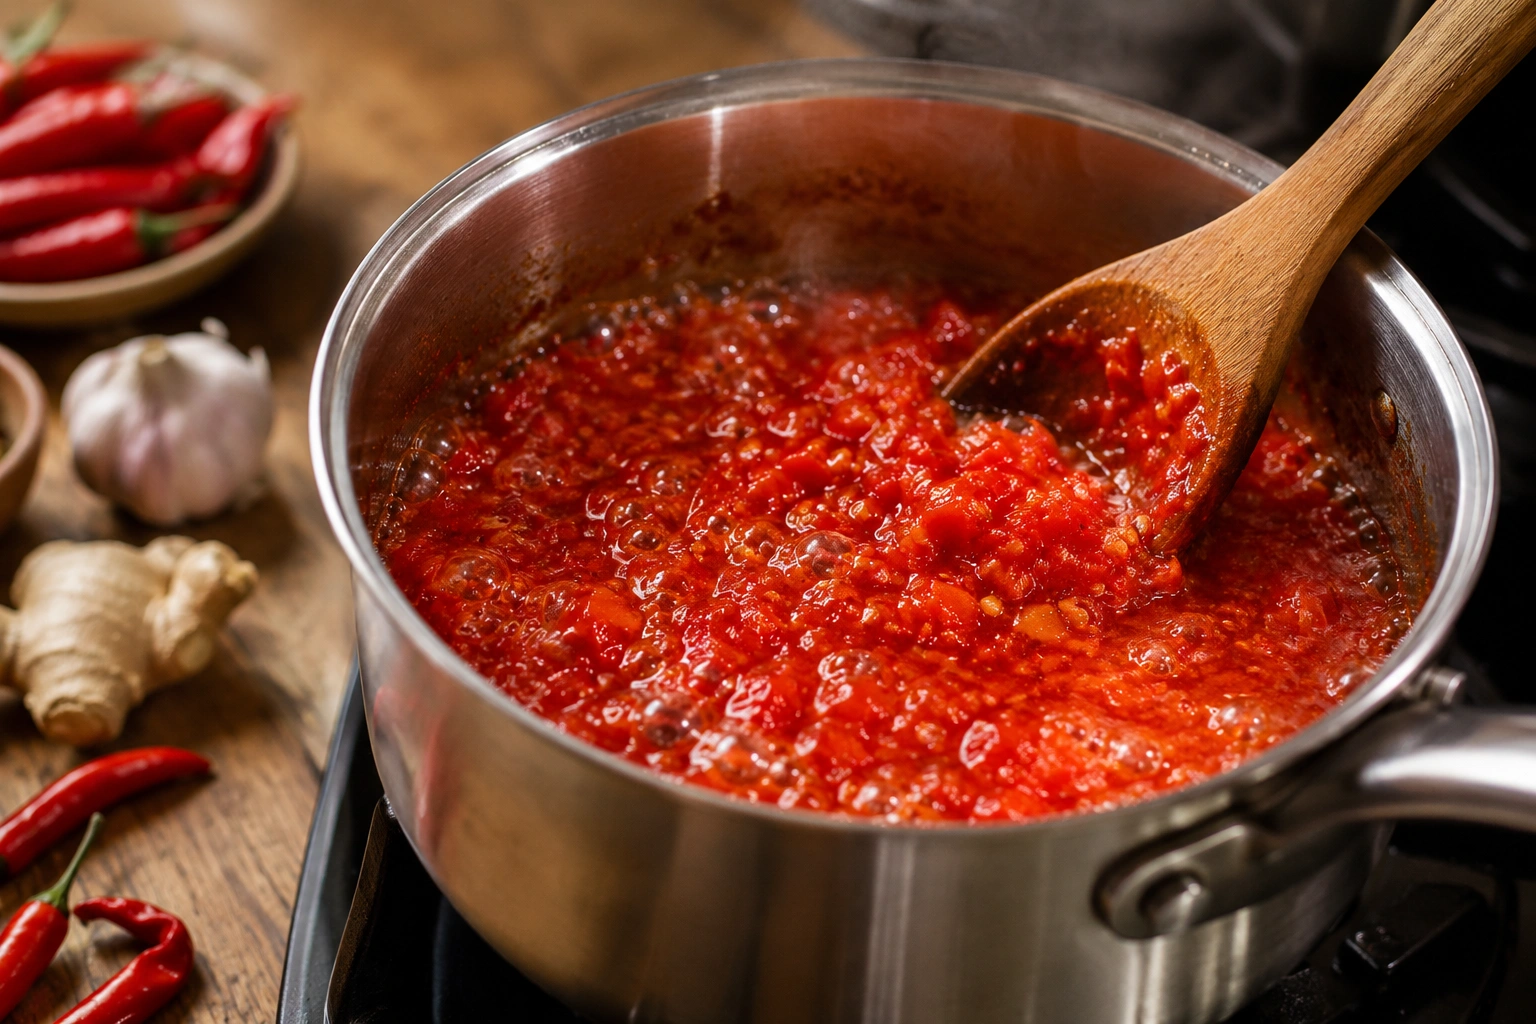
Reduce and test set
Simmer, stirring every few minutes, for around 35 to 45 minutes. You're looking for the mixture to reduce down and thicken to a sticky, jammy consistency, where a spoon dragged across the bottom of the pan briefly leaves a clear trail before the mixture flows back.
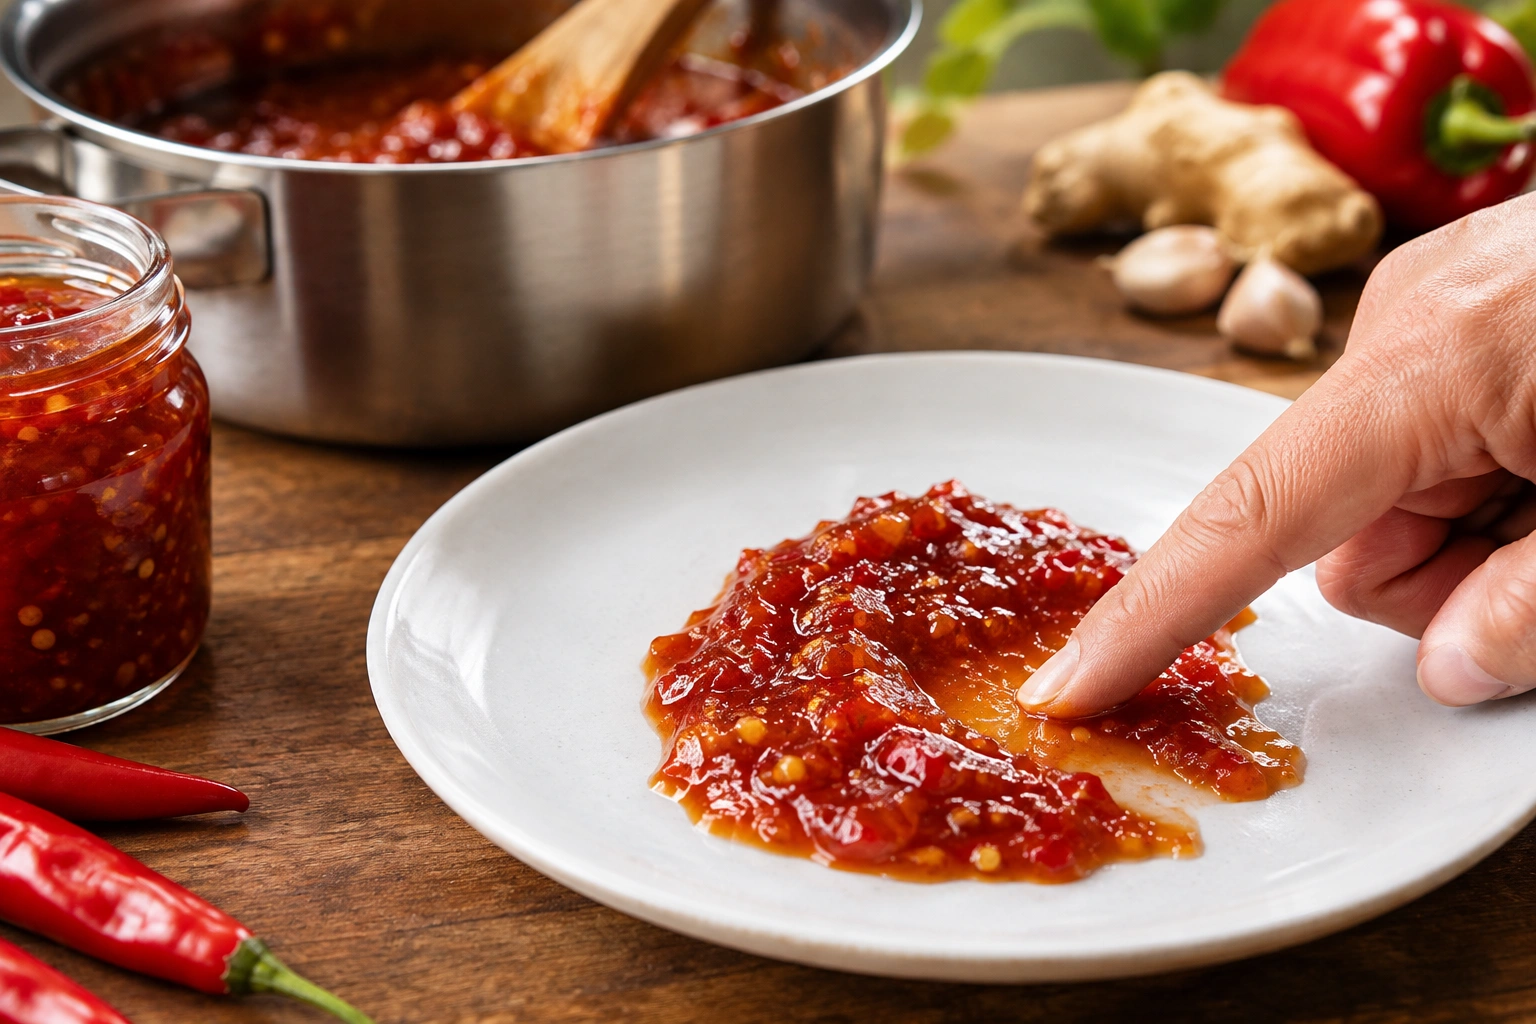
If you've got a sugar thermometer, you're aiming for around 105°C, which is the setting point for most jams and preserves. If you don't have one, the cold plate test works just as well: put a small saucer in the freezer beforehand, spoon a little of the hot jam onto it, wait 30 seconds, then push it with your finger. If it wrinkles and holds its shape rather than running straight back together, it's ready.
Jarring and Storing
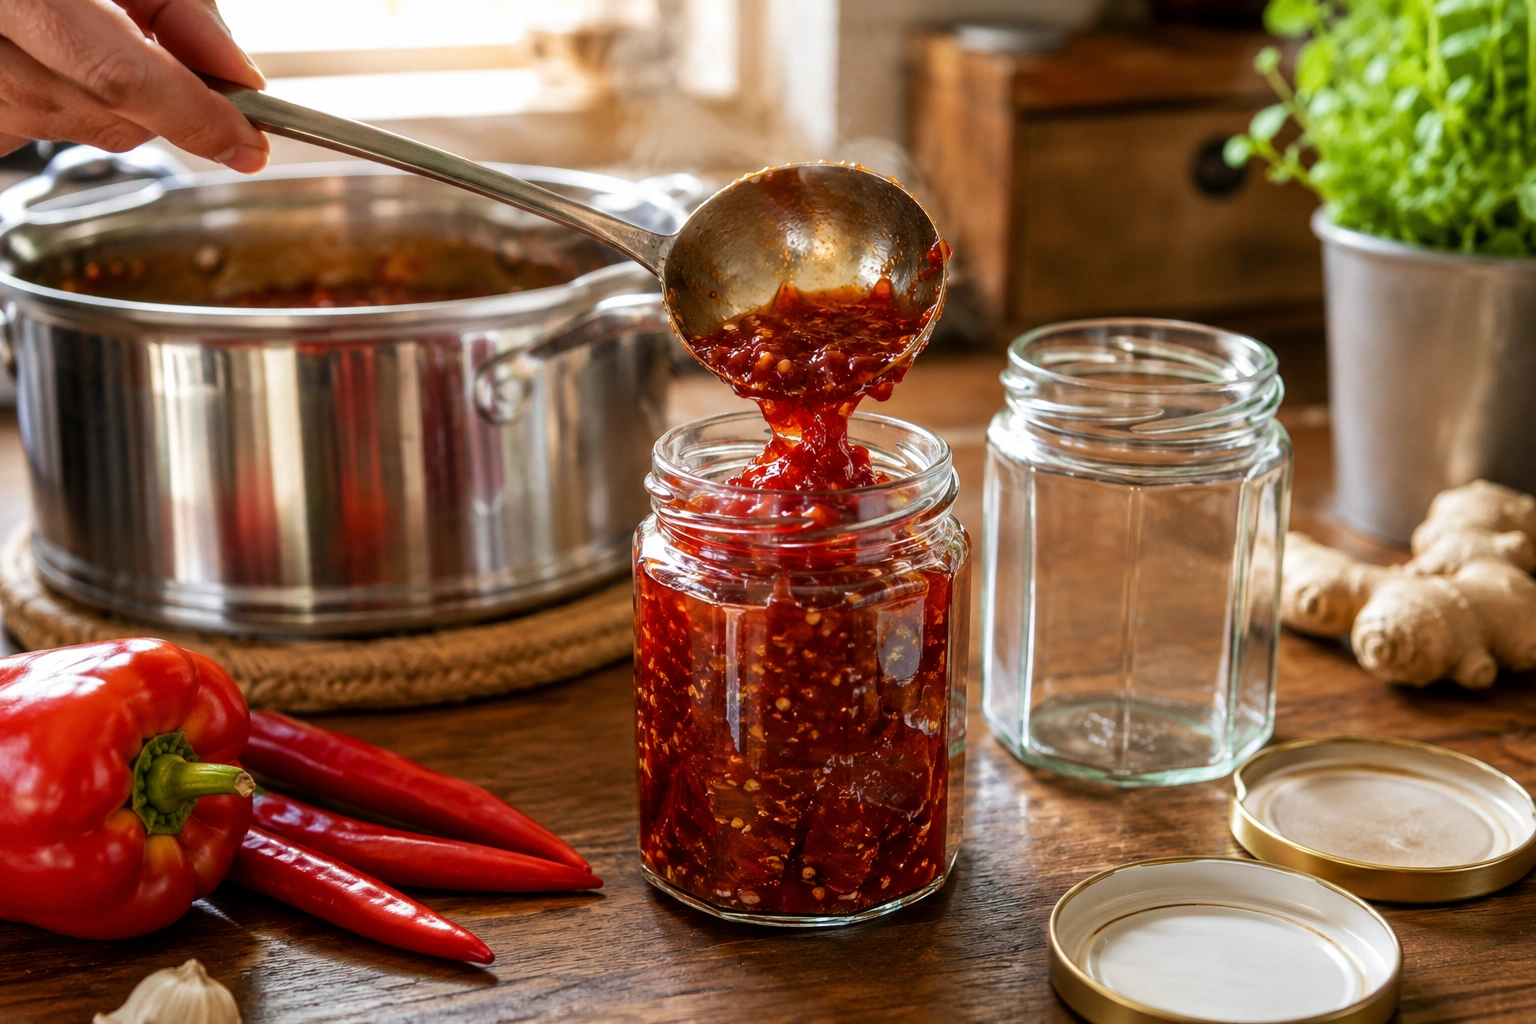
Ladle into jars and seal
Ladle the hot jam into sterilised jars, leaving a small gap at the top, and seal immediately while both the jam and jars are still hot. This helps create a proper seal as everything cools.
Once sealed and cooled, unopened jars keep well in a cool, dark cupboard for several months. Once opened, keep it in the fridge, where it'll happily last a few weeks — assuming it survives that long, which in my kitchen it never has.
What to Do With It
Once you've got a jar of this in the fridge, here's where it actually earns its keep:
- Spooned over a wedge of soft cheese like brie or cream cheese, served with crackers
- Stirred through mayonnaise for a quick, punchy burger or sandwich sauce
- Glazed onto grilled chicken or pork in the last few minutes of cooking
- Spread on toast under a fried egg
- Stirred into a stir-fry or noodle dish for a sweet-hot finish
- Served alongside spring rolls or dumplings as a dipping sauce
Final Serving
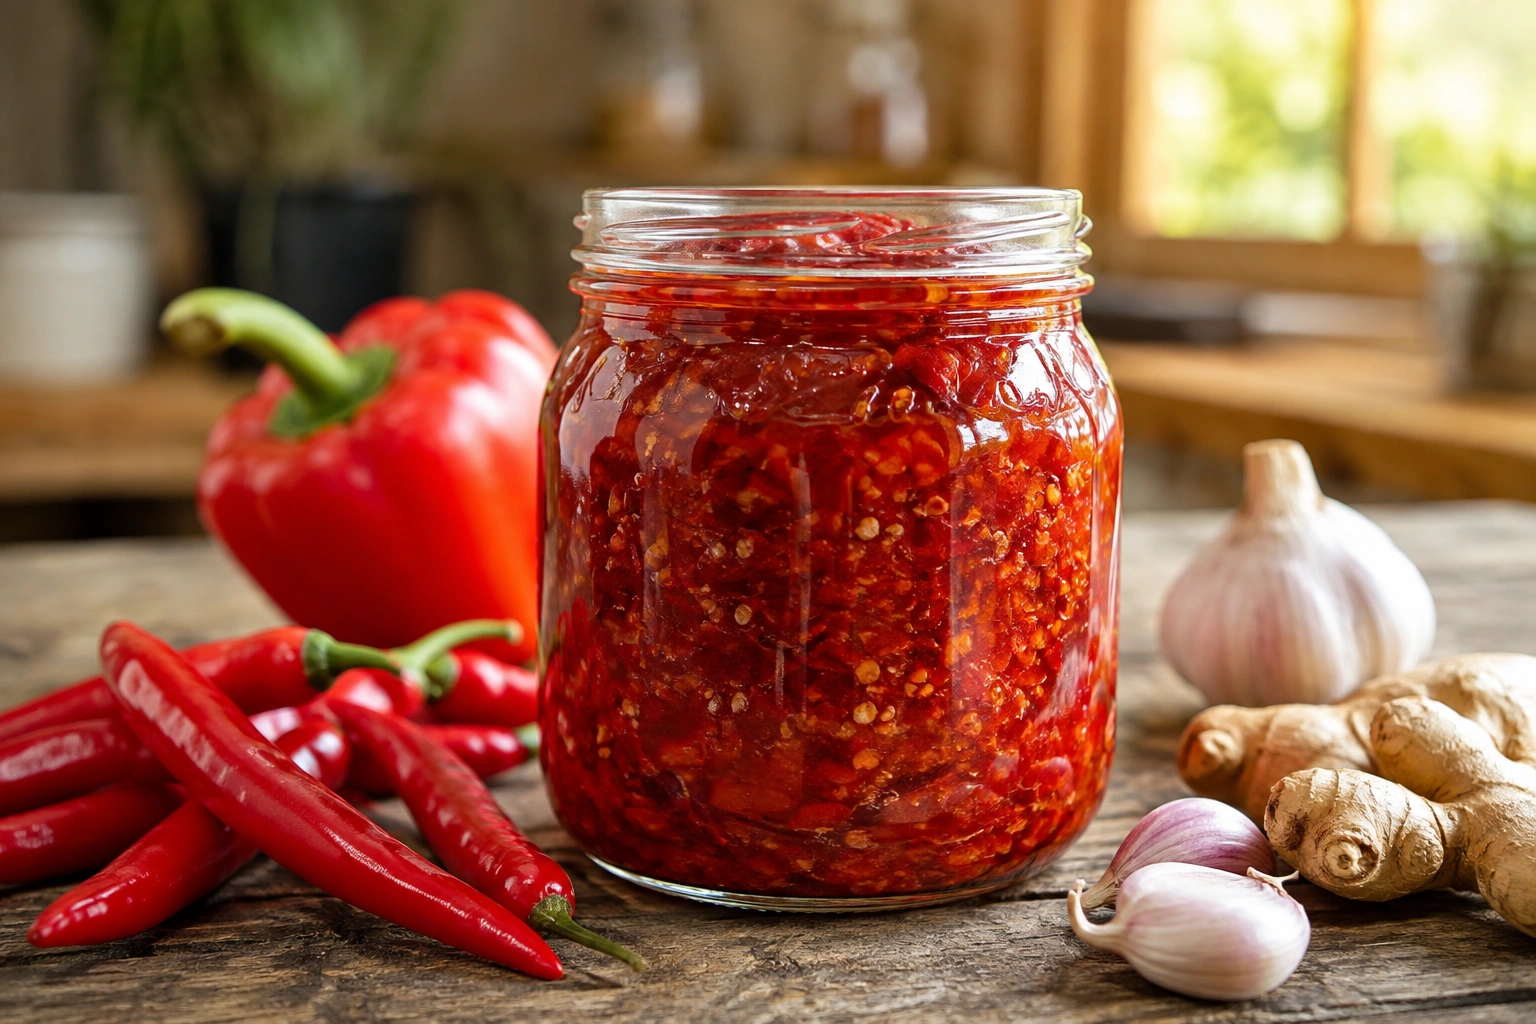
The finished chilli jam sets into a gorgeous, glistening ruby red preserve with just the right balance of sweet gloss and textured chilli pieces. Spooned generously over creamy brie or sharp cheddar on crisp crackers, it delivers a warm, punchy contrast that elevates any spread. It is equally sensational as a glaze for roast meats or stirred into dipping sauces.

Step-by-Step Video Guide
Watch the full process in action — from pulsing the fresh chillies to judging the spoon wrinkle test and achieving that glossy, spoonable set.
Choosing Your Chillies
This is the single biggest decision in the whole recipe, and it's entirely about how much heat you actually want to live with.
Long red chillies (sometimes sold as cayenne or Serrano-style) are the standard choice for a classic, approachable jam. They've got decent heat without being punishing, and a good, fruity chilli flavour that doesn't get lost under the sugar.
Bird's eye chillies will give you a considerably hotter jam. If you're using these, it's worth cutting the quantity back and topping up the volume with red capsicum, so you get heat without turning the jam into something unusable.
Red capsicum (bell pepper) isn't a chilli at all, but it's a common addition in a lot of chilli jam recipes because it adds body, sweetness, and a milder flavour base that lets you dial the actual chilli up or down without changing the texture of the finished jam.
A good starting ratio for a moderately hot, crowd-friendly jam is about two-thirds long red chillies to one-third red capsicum. If you want it hotter, shift that ratio toward more chilli, or add a small handful of bird's eye chillies into the mix.
Common Mistakes and How to Avoid Them
Rushing the simmer. Turning the heat up to get to a set faster is the most common shortcut people try, and it's the one that backfires hardest. High heat with that much sugar in the pan leads to scorching on the bottom before the top has even properly thickened. Slow and steady genuinely is faster in the long run, because you won't be starting over.
Skipping the seed removal decision. Not thinking about seeds and pith at the chopping stage means you end up with whatever heat level you get, rather than the one you actually wanted. Decide upfront based on how hot you want the final jam, not halfway through cooking when it's too late to change.
Under-reducing. A jam that hasn't reduced enough will taste right at first but turn out runny rather than spreadable once it's cooled and jarred. If in doubt, simmer a little longer rather than pulling it off early — you can always thin a jam that's too thick with a splash of extra vinegar, but you can't un-thin one that's too loose without recooking it.
Not sterilising the jars properly. This is a food safety issue as much as a quality one. Jars that aren't properly sterilised can let mould or bacteria take hold even in a high-sugar, high-acid preserve like this. Wash jars and lids in hot soapy water, then either run them through a hot dishwasher cycle or heat them in a low oven for ten minutes before filling.
Forgetting the fish sauce. It sounds like an odd addition to a sweet chilli condiment, but a small amount of fish sauce adds a savoury depth that stops the jam tasting purely of sugar and heat. It's genuinely worth including, even in small amounts, and you won't taste it as "fishy" once it's cooked into the jam.
Frequently Asked Questions
How hot should chilli jam be?
There's no fixed standard — it depends entirely on your chilli choice and whether you keep the seeds in. A good approachable heat level uses long red chillies with the seeds partially removed, giving warmth without overwhelming the sweetness. Taste your chillies raw before you start, since heat varies a lot even within the same variety.
Can I use dried chillies instead of fresh?
You can, but rehydrate them in warm water first and expect a different flavour profile. Dried chillies bring a deeper, slightly smoky note compared to the brighter, more fruity flavour of fresh chillies, so the finished jam will taste noticeably different, not necessarily worse.
Why didn't my jam set properly?
Usually it's under-reduction. Chilli jam relies on sugar concentration and evaporation for its set, so if it hasn't simmered long enough, it stays thin. Return it to the pan and simmer further, checking with the cold plate test every five minutes.
Is chilli jam the same as sweet chilli sauce?
Not quite. Sweet chilli sauce is thinner, more pourable, and typically has cornflour or similar as a thickener. Chilli jam is thicker and spreadable, relying on sugar reduction rather than starch for its texture.
Can I make this less sweet?
Yes, though it changes the balance of the recipe. Reducing the sugar means a shorter cooking time to reach a set, and you'll want to compensate with a touch more vinegar or fish sauce so it doesn't taste flat.
How long does homemade chilli jam actually last?
Sealed and unopened, several months in a cool cupboard. Once opened, a few weeks in the fridge is realistic, assuming proper sterilisation at the jarring stage. Always check for mould, off smells, or an unsealed lid before eating from an older jar.
Do I need to peel the chillies or capsicum?
No peeling needed for either. Just wash, deseed if desired, and roughly chop before processing.
Can I can this for longer shelf-stable storage?
The high sugar and acid content make chilli jam relatively forgiving for home preserving, but proper water-bath canning technique still matters for genuine shelf stability. If you're planning to store jars outside the fridge for extended periods, it's worth following a dedicated preserving guide for correct processing times.
Final Thoughts
Chilli jam rewards patience far more than precision. Get the simmer right, taste as you go, and trust the process even when the mixture looks like it's taking forever to thicken — it always comes together in the last ten minutes. Once you've made a batch, you'll understand why it disappears from kitchens faster than almost anything else you can preserve in a jar.