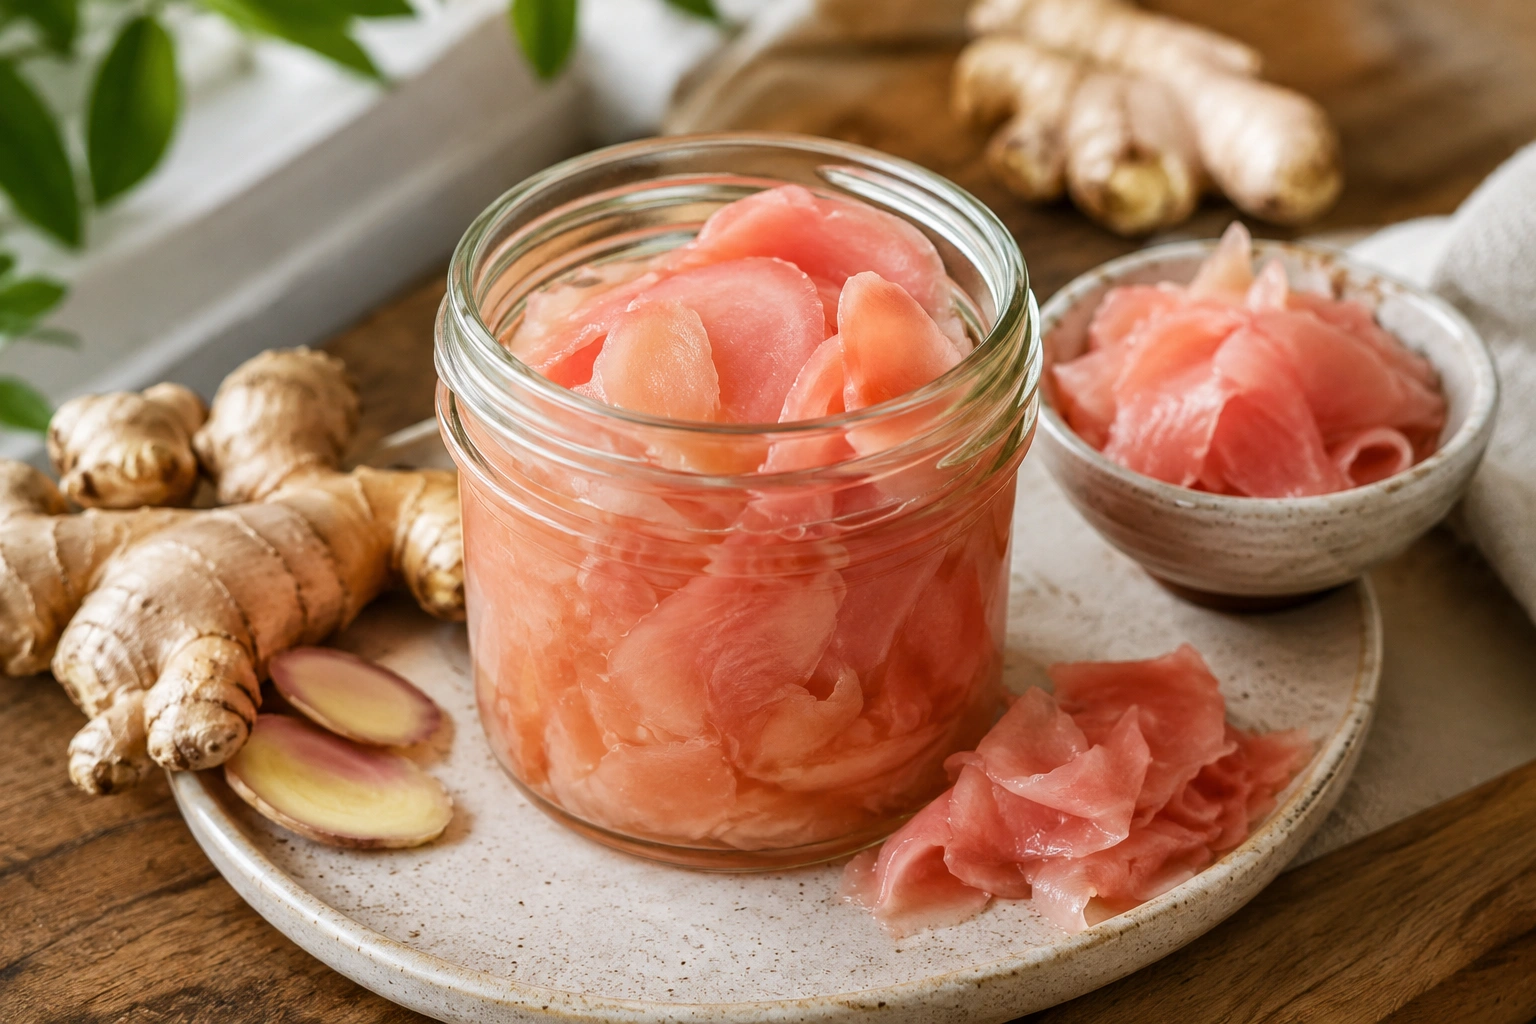
If you've only ever eaten pickled ginger from the little plastic tub next to your sushi, you're missing out. Real homemade pickled ginger — pale pink from young roots, sharp with rice vinegar, warm with authentic ginger heat — is a different food entirely. It takes about twenty minutes of hands-on time and a few days of patience, and it will permanently change how you think about a condiment you probably never thought much about at all.
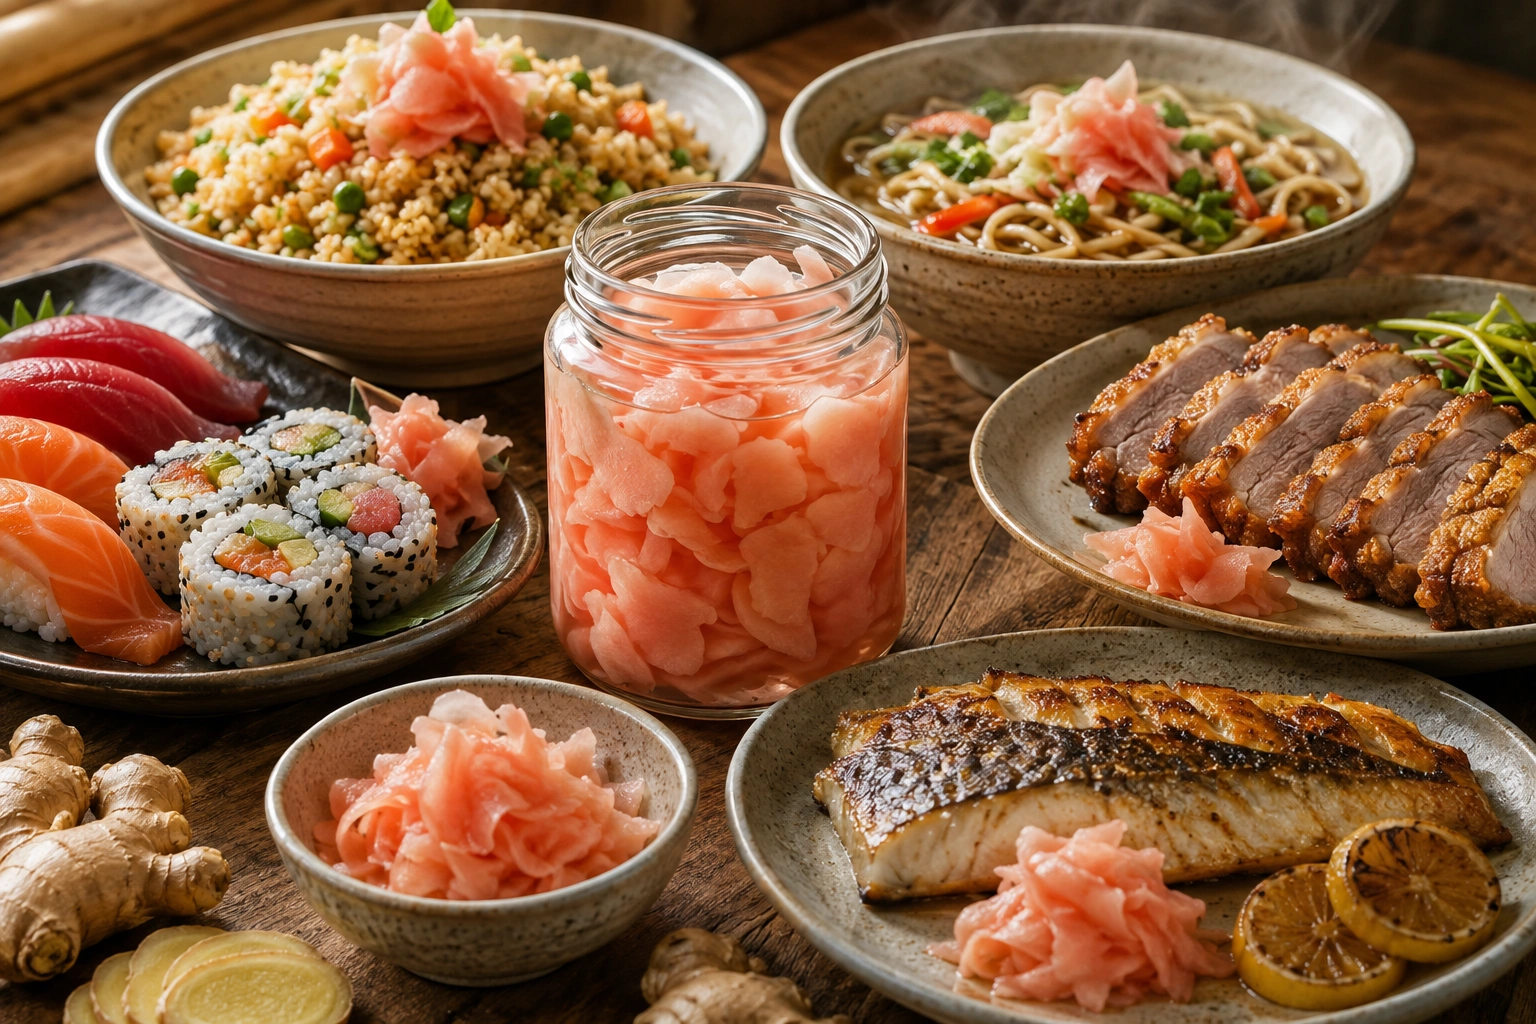
I've been cooking professionally for ten years, mostly in kitchens here in Australia, and pickled ginger is one of those staples I make constantly because it's useful for far more than sushi night. It goes on grain bowls, into fried rice, alongside roast pork belly, on top of piping-hot noodle soups, and straight out of the jar when you want something bright and biting to cut through a rich meal.
Once you've made a batch yourself, the store-bought stuff starts to taste like what it usually is: overly sweet, dyed an unnatural neon pink, and noticeably one-note. This guide covers everything a home cook actually needs: what ginger to buy, how to prep it properly, the pickling liquid ratio that works, common mistakes, storage, and answers to the questions people usually have once they've made their first jar.
The Equipment You Actually Need
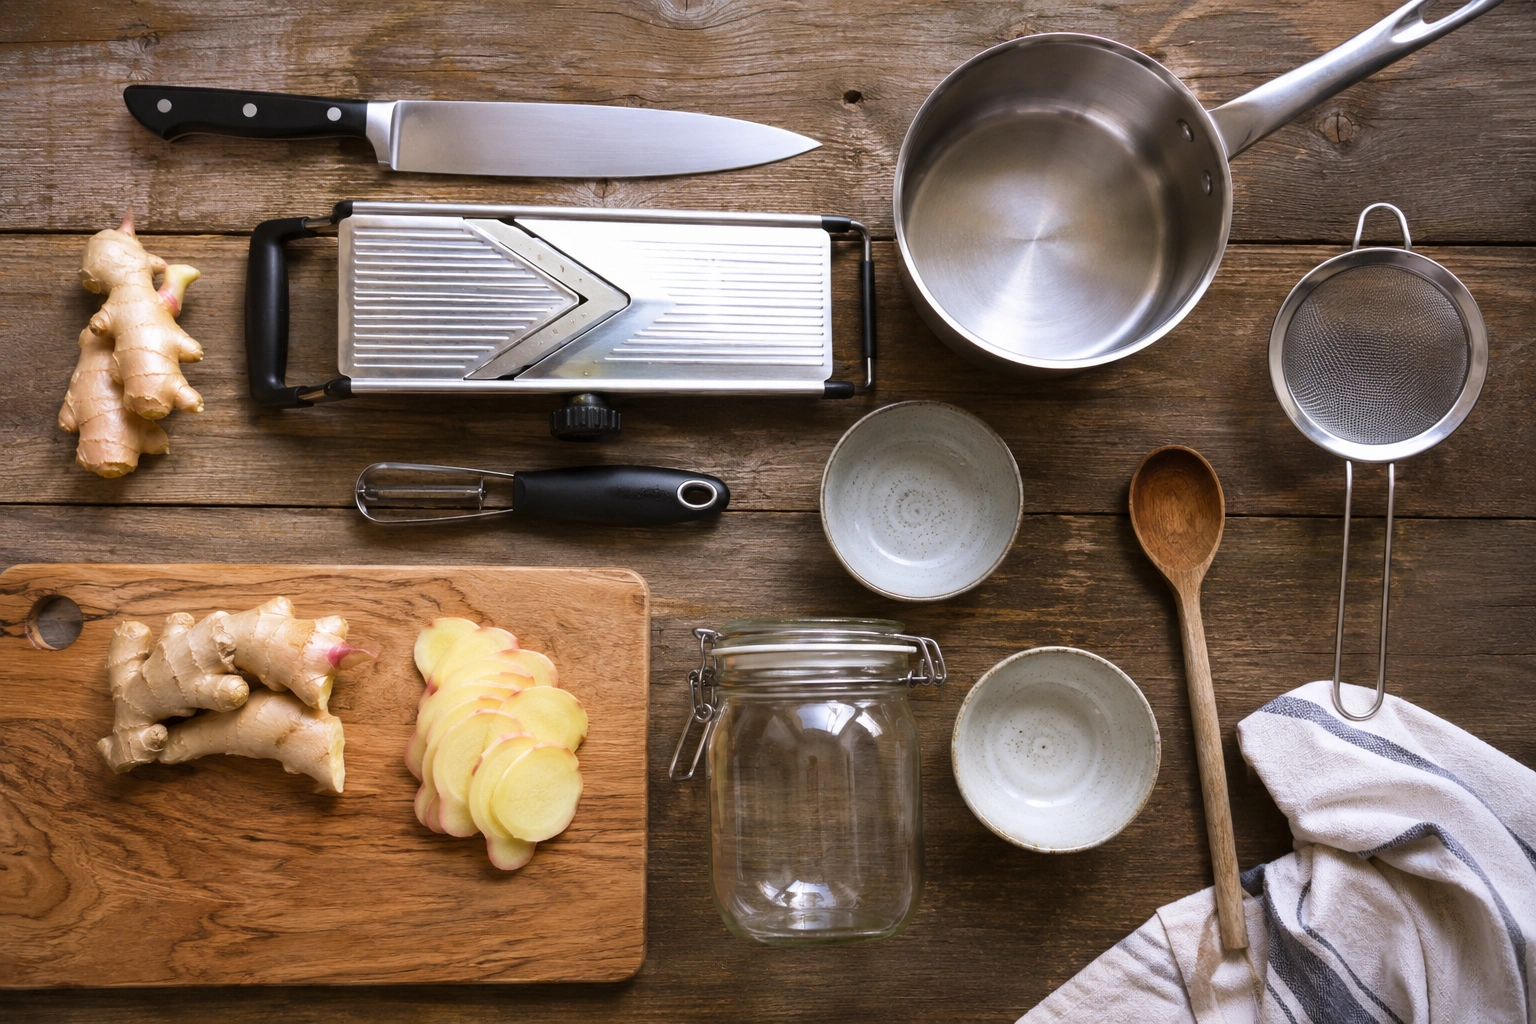
Nothing fancy here, which is part of the appeal of this quick pickle. Having these basic tools on hand makes the entire process effortless:
- A very sharp knife or a mandoline: Essential for slicing paper-thin ribbons. A mandoline makes a genuine difference here because pickled ginger should be sliced paper-thin, and getting there consistently with just a knife takes real practice.
- A vegetable peeler or the edge of a spoon: For scraping young ginger skin without removing valuable flesh.
- A small saucepan: For gently dissolving the sugar and salt into the vinegar.
- A clean glass jar with a tight lid: A 250ml–300ml jar that seals tightly for fridge curing.
- A colander & paper towels: For draining and patting the blanched slices dry.
Ingredients & Ratios (Makes 1 Jar)
-
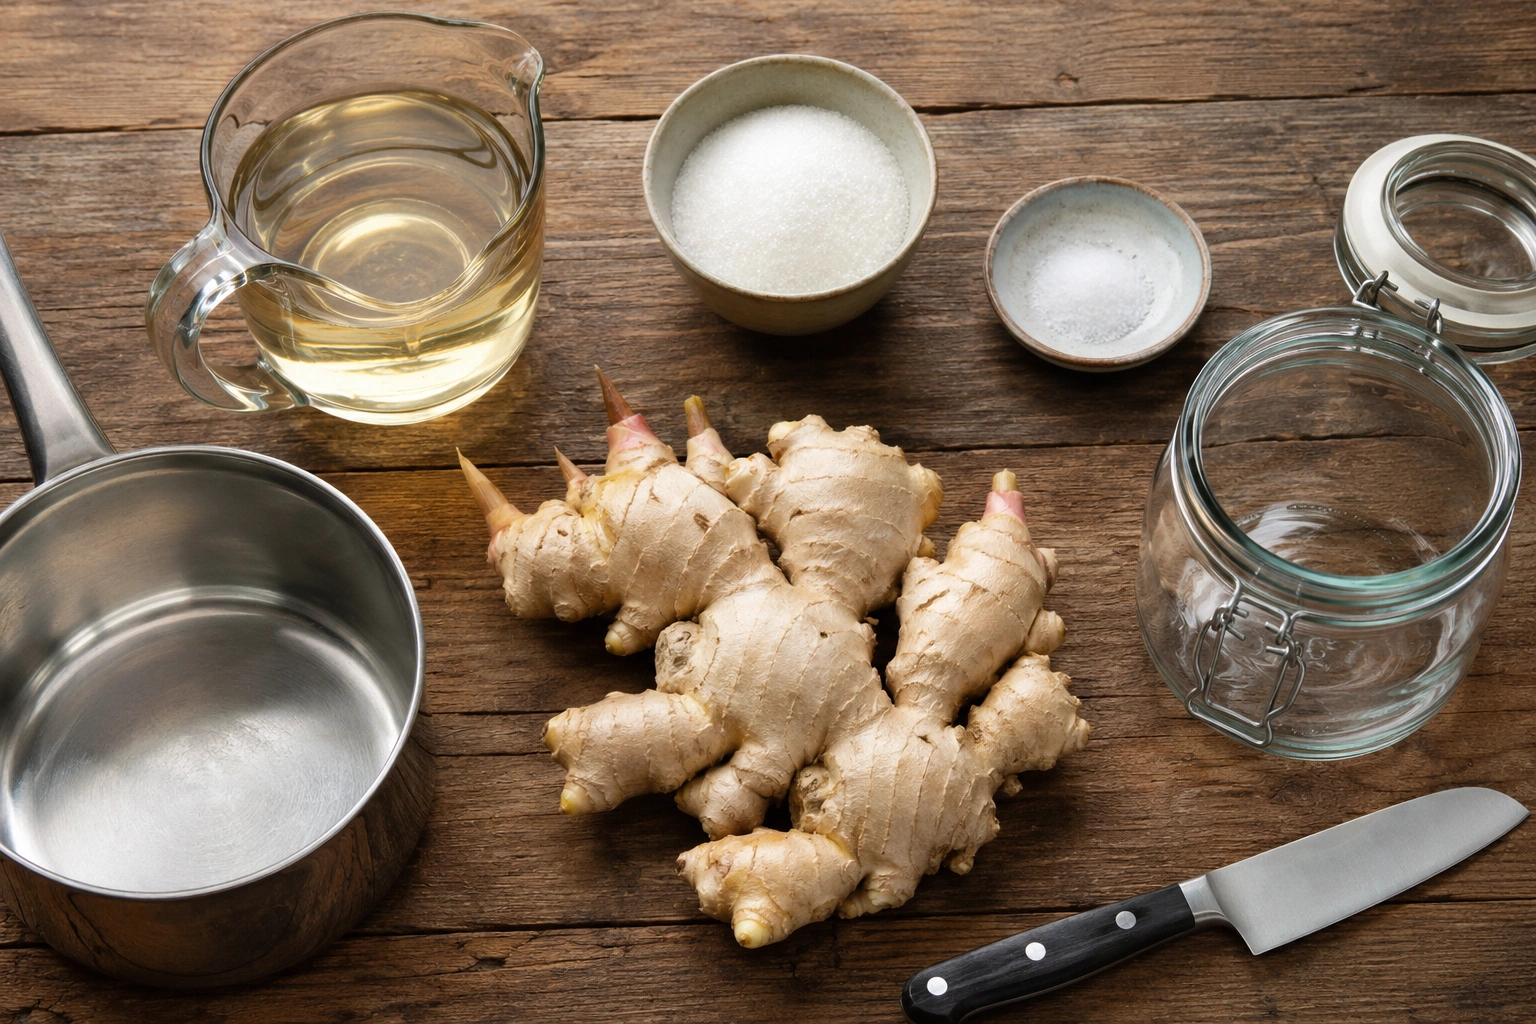
200–250g Fresh Ginger
— young ginger (shin shoga) gives the classic tender bite and natural blush pink colour. Mature ginger works too if blanched properly.
-
1 cup (240ml) Rice Vinegar
— unseasoned Japanese rice vinegar provides mild, smooth acidity without harsh biting sharpness.
-
3 tbsp (45g) White Sugar
— balances the acidity. Reduce to 2 tbsp for extra tartness, or increase to 4 tbsp for sushi-bar sweetness.
-
1 tsp Salt (for brine) + 1 tsp Extra Salt
— fine sea salt or kosher salt. Extra salt draws out moisture and tempers the fiery raw ginger bite.
Step-by-Step Guide
4 Easy Steps: How to Cook Pickled Ginger
1
Peel, slice, and salt the ginger
Peel the ginger first. For young ginger, scrape the skin off with the edge of a spoon. For mature ginger, use a standard peeler. Slice against the grain as thinly as humanly possible using a mandoline. Toss with 1 teaspoon of salt and let sit for 10–15 minutes, then rinse briefly and pat dry.
Why It Matters: Slicing paper-thin against the grain prevents stringy chew, while salting draws excess water and takes the raw harsh burn out of the root.
2
Blanch the ginger
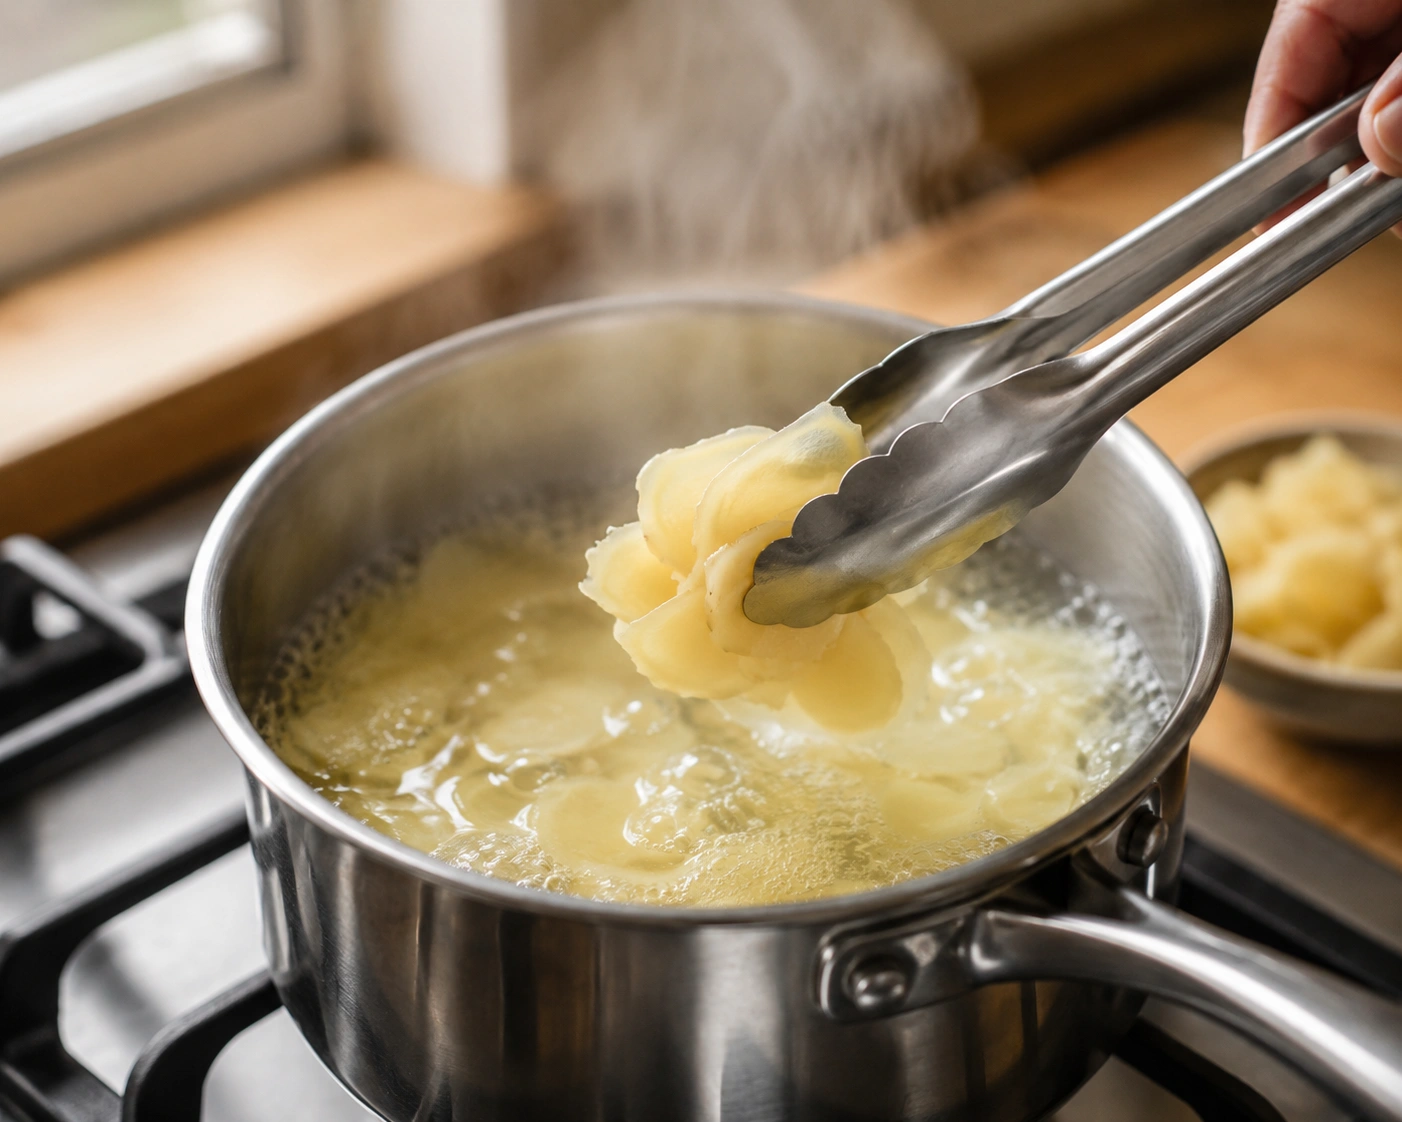
Bring a medium pot of water to a boil. Drop the salted, rinsed ginger slices into the boiling water for 30 to 60 seconds (up to 90 seconds for fibrous mature ginger), then drain immediately in a colander and shake off excess moisture.
Pro Tip: Blanching softens the texture slightly and mellows the peppery heat so the sweet vinegar brine can penetrate deeply.
3
Prepare the pickling brine
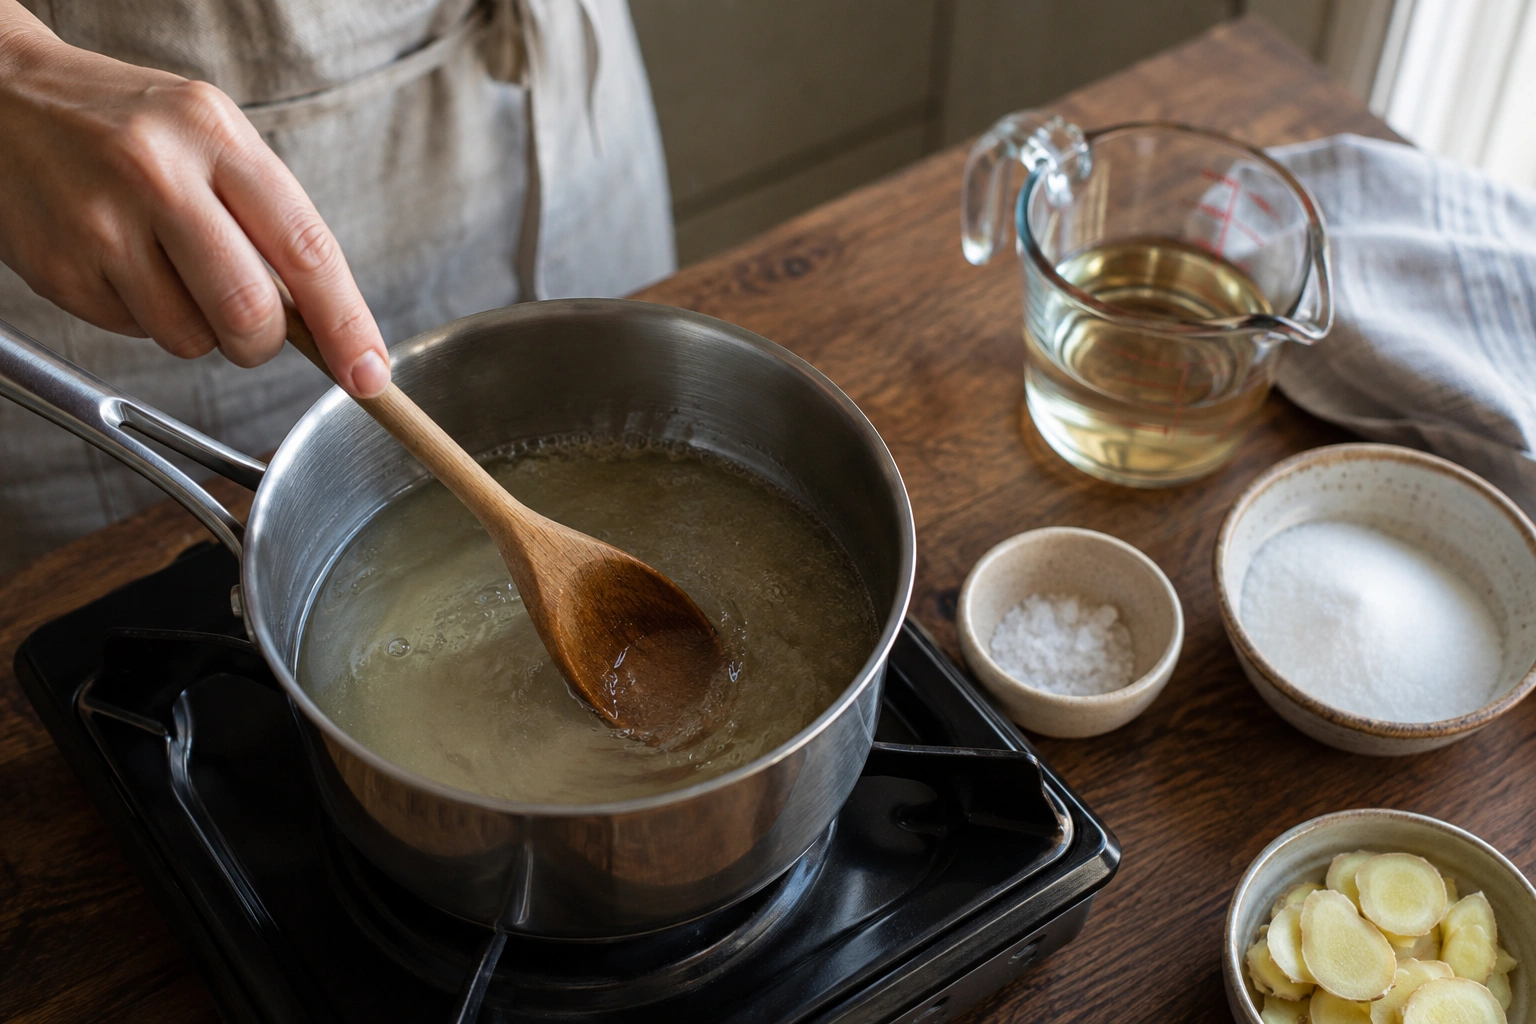
In a small saucepan, combine 1 cup rice vinegar, 3 tablespoons sugar, and 1 teaspoon salt. Heat gently over medium-low heat just until the sugar and salt dissolve completely. Do not boil hard — you are dissolving, not cooking out the vinegar.
Taste First: Taste the warm brine with a spoon before pouring. Adjust sweetness or salt now, as it's far easier to balance before jarring.
4
Pack, submerge, and cure
Pack the warm, drained ginger loosely into a clean glass jar. Pour the warm pickling liquid over the top until every slice is completely submerged. Allow to cool uncovered to room temperature, then seal tightly with the lid and place in the fridge.
Curing Time: Ready to eat after 24 hours, but peak depth and natural blush pink appear after 3 to 4 days in the fridge.
Final Serving
Once your pickled ginger has spent three or four days in the brine, it transforms into shimmering ribbons of tender, zesty gari. Serve it straight from the fridge in small spoonfuls — this is a potent condiment where a little goes a remarkably long way.
Common Mistakes and How to Avoid Them
| Problem |
Underlying Cause |
Solution & Fix |
| Slicing too thick & fibrous |
Cutting with a dull knife or slicing with the grain instead of across it. |
Solution: Use a handheld mandoline set to paper-thin and slice perpendicular to the fibrous grain lines. |
| Raw bite is overly aggressive |
Skipping the initial 15-minute salting step or using unblanched mature ginger. |
Never skip salting, and blanch mature ginger in boiling water for 60–90 seconds to temper harsh gingerol compounds. |
| Pickle tastes harsh or sour |
Using high-acidity distilled white vinegar or pungent apple cider vinegar. |
Always choose gentle, unseasoned rice vinegar (approx 4.2% acidity) for genuine Japanese gari flavour. |
| Ginger hasn't turned pink |
Using mature root rather than young ginger with natural anthocyanin tips. |
Mature ginger naturally stays cream or pale yellow. It is 100% safe, delicious, and normal without commercial chemical dyes. |
| Tastes one-note on Day 1 |
Expecting instant curing before vinegar and salt fully permeate cell walls. |
Patience is key — let the jar cure undisturbed in the refrigerator for at least 3 to 4 days for optimal flavour melding. |
Storage and Shelf Life
Because both vinegar acidity and salt act as natural preservative agents, homemade pickled ginger keeps exceptionally well in a clean, airtight glass jar kept in the refrigerator for up to 1 to 2 months.
Always use clean, dry chopsticks or a fork when removing slices to avoid introducing foreign bacteria or oils to the brine. If the liquid ever turns cloudy, develops mould, or emits an off odour, discard the batch immediately.
Beyond Sushi: What to Actually Do With It
Once you've got a jar in the fridge, use it liberally across your weekly cooking. A few favourite culinary uses:
🍣 Sushi & Poke Bowls
Scatter over salmon poke, tuna tartare, or between nigiri bites as a traditional palate cleanser.
🍚 Fried Rice & Noodles
Stirred through hot ramen broth or tossed over chicken fried rice right at the end for crunch.
🥩 Rich Roast Pork & Duck
Served alongside crispy pork belly or roasted duck where the high acidity cuts through rich fat.
🥟 Dumpling Dipping Sauce
Finely minced into black vinegar and soy sauce for potstickers, gyoza, or soup dumplings.
🥗 Pickled Slaw & Vinaigrette
Whisk the leftover ginger-infused pickling brine into toasted sesame oil for an instant crunchy cabbage slaw dressing.
Final Thoughts
Pickled ginger is one of those small kitchen projects that rewards very little effort with a genuinely useful, culinary-grade result. Once you've got a jar going in the fridge, you'll find yourself reaching for it far more often than you'd expect — not just for sushi night, but for anything that could use a sharp, refreshing lift.
Slice it thin, don't rush the curing time, and taste your warm brine before you commit. Everything else about this classic pickle is deeply forgiving and immensely satisfying to master.
Frequently Asked Questions
Do I need young ginger, or will regular ginger work?
+
Regular mature ginger works very well, but the texture will be slightly firmer and the spice more pronounced. Young ginger (harvested early in late summer/autumn) has delicate skins, tender flesh, and pink tips that create the classic blush colour. If using regular mature ginger, simply slice paper-thin and blanch for 60 seconds.
Why isn't my pickled ginger bright pink?
+
Without added artificial food dyes (such as E124 or beet powder), authentic pickled ginger is naturally a delicate pale cream to light pastel pink. When young ginger reacts with vinegar acidity, natural anthocyanin pigments create a faint blush. Mature ginger stays pale yellow or ivory, which is completely natural and healthy.
Can I use a vinegar other than rice vinegar?
+
You can, but expect a harsher profile. Standard white vinegar and apple cider vinegar both have higher acidity (5%+) and sharper profiles than Japanese rice vinegar (~4.2%). If using white vinegar, dilute with 2 tablespoons of water and add an extra teaspoon of sugar to soften the bite.
How long does homemade pickled ginger last?
+
Stored in a sealed, sterilised glass jar inside the refrigerator, pickled ginger typically stays fresh, crunchy, and bright for 1 to 2 months. Always use clean utensils to retrieve slices.
Is pickled ginger good for digestion?
+
Ginger has a long tradition of helping soothe the stomach and aiding digestion after fatty or rich meals. In sushi dining, ginger acts as an antimicrobial palate cleanser between different cuts of raw fish.
Can I add other flavours or make it spicier?
+
Yes! Adding a thinly sliced red bird's eye chilli, a coin of beetroot for a vibrant pink hue, a strip of fresh lemon peel, or a whole star anise creates lovely variations while preserving the core ginger profile.
Why is my ginger still tough after several days in the jar?
+
This almost always comes down to slice thickness and fiber orientation. If ginger is sliced thicker than 1mm or cut parallel to the fiber grain, the brine cannot break down the cellulose. Re-slice thinner on a mandoline next time, and blanch for a full 60 seconds.
.svg)